Craftsman tool boxes are one of the most important pieces of gear you can have in your home workshop. Not only do they provide storage and organization for all your tools, but they also allow you to keep everything close at hand so you can get started quickly.
If you’re like most people, your tool box probably has a lot of drawers that you don’t use very often. But if you ever need to take one out, it can be a pain to do so.
The Purpose of Tool Boxes
Craftsman tool boxes are designed for use by professionals who need to carry a variety of the correct tools for their specific job. They come in different sizes and configurations to meet the needs of everyone.
The purpose of it is to store the correct tools for the task at hand. Each one has pockets specifically designed to store various types of tools, so you always have the right tool when you need it.
A Craftsman tool box is also designed to be easily accessible. The dividers and compartments are arranged in a way that makes it easy to find what you need quickly. All the tools are stored on one level, so you don’t have to search through a pile of tools to find what you’re looking for.
Different Parts of a Craftsman Tool Box
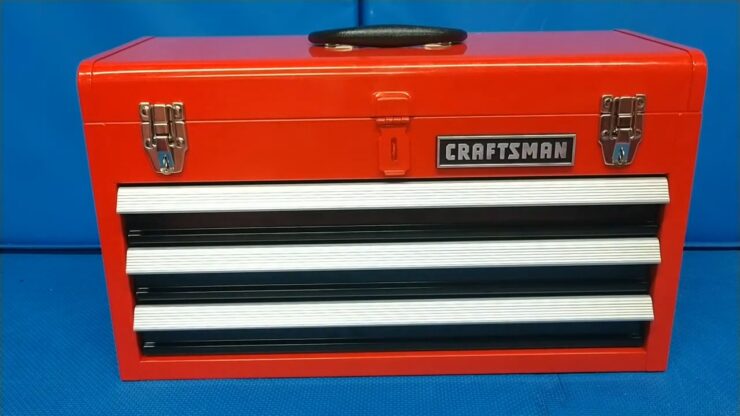
The different parts of a tool box can vary, but the basics are always present.
The lid should close securely and have an easy-to-grasp handle. Inside you’ll find a space for each type of hand tool:
- Hammer/Punch
- Wrench/Screwdriver
- Level
- Chisel
- Knife Sharpener
- Safety Glasses
The inside back panel can also hold screwdriver bits, pliers, wire cutters, and other tools in various sizes. There should also be room to store your workbench supplies like sandpaper and clamps. Finally, make sure to add a place to hang your tool belt or storage box so you can easily grab what you need when you’re ready to start working.
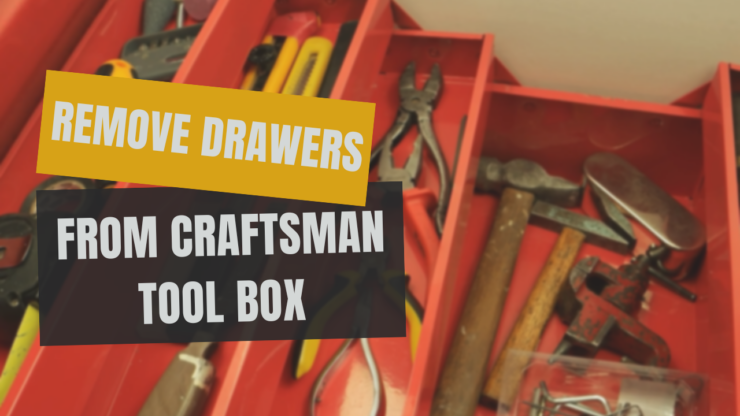
The Drawers
Craftsman tool boxes come in many different sizes and configurations, but most feature sliding drawers on the bottom. Removing these drawers is a simple task that can be done with the right tools.
How to Remove Drawers
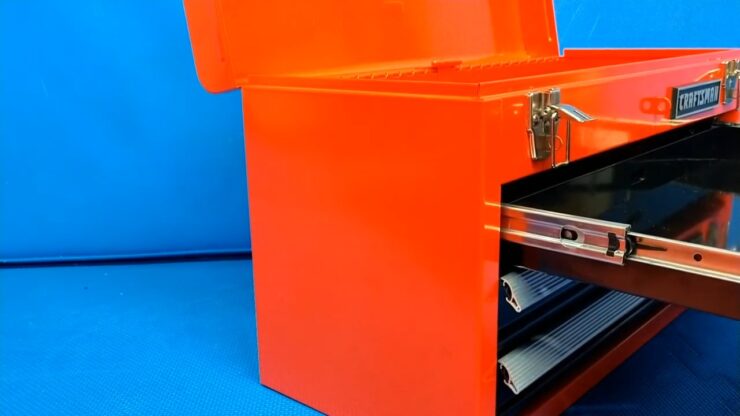
If your Craftsman tool box has drawers that are starting to get a bit tedious to remove, it’s time to do something about it. Follow these easy steps to get the drawer removal process started:
1. Locate the spring-loaded latches on each side of the drawer front. Apply moderate pressure with a screwdriver against the release button on one side and slowly pull the drawer outwards. Repeat this step on the other side.
2. If necessary, use a putty knife or a straight edge to pry up any staples that may have been attached near the top and bottom of the drawer fronts. Once all of the screws are removed, carefully pull out each drawer front assembly from its mountings.
3. Clean any dust or debris off of both sides of each mounting piece using a cloth or a vacuum cleaner. If necessary, apply a small amount of silicone adhesive sealant to either side of each mounting piece and reinstall them into their corresponding holes on the cabinet surface.
4. Reattach each drawer front assembly by firmly pressing down onto its mating piece and inserting screws through its holes in the cabinet surface and into those on the backside of the drawer front assembly (Note: Be sure not to overtighten these screws).
How to Organize Your Craftsman Tool Box
There is no one right way to organize a tool box, as the contents and layout will depend on your individual needs.
Start by sorting your tools into categories based on the task they perform. For example, you might have a category for tools used for carpentry, woodworking, and metalworking. Next, group related tools together within each category. For instance, if you use a saw to cut wood, put the saw blade in its own category with other cutting tools.
Next, consider how often you’ll use each tool. If you only use it occasionally, put it in an easily accessible location such as on the top of the box or in a drawer. If you use it more often, put it in a more organized location such as on the bottom of the box or in a compartment inside the box.
Finally, make sure all of your tools are properly balanced and secured so they don’t fall out when you’re using them. To do this, place weighted objects (such as sandbags or old cans) on top of certain tools to keep them from falling out when opened up. Alternatively, use bungee cords or cable ties to secure tools to the sides of the box.
How to remove snap-on tool box drawers
If you are ever in a situation where you need to remove the snap-on tool box drawers from your vehicle, there are a few simple steps that you can follow.
- Locate the two screws that hold the toolbox in place and use a Phillips screwdriver to remove them.
- Carefully pull the toolbox away from the vehicle and set it aside.
- Once the toolbox is free, use your hands to pry up on either side of the drawer track and pop it out of its mount.
- Repeat these steps on each of the other three drawer tracks, then reinstall the screws and toolbox.
If you’re interested in more guides, we have a perfect one for you about the differences between a brad nailer and a finish nailer.
Conclusion
If you’re ever looking to declutter your craft room, one of the first places you might want to start is by removing the drawers from your craftsman tool box. Not only do they take up a lot of space, but they also can be difficult to access when you need to grab a tool quickly.
If you have several drawers that are full of tools that you rarely use, it might be worth considering investing in a cabinet with more storage options.